
How To Build, Preserve, And Present An Evidence File
What This Guide Helps You Build
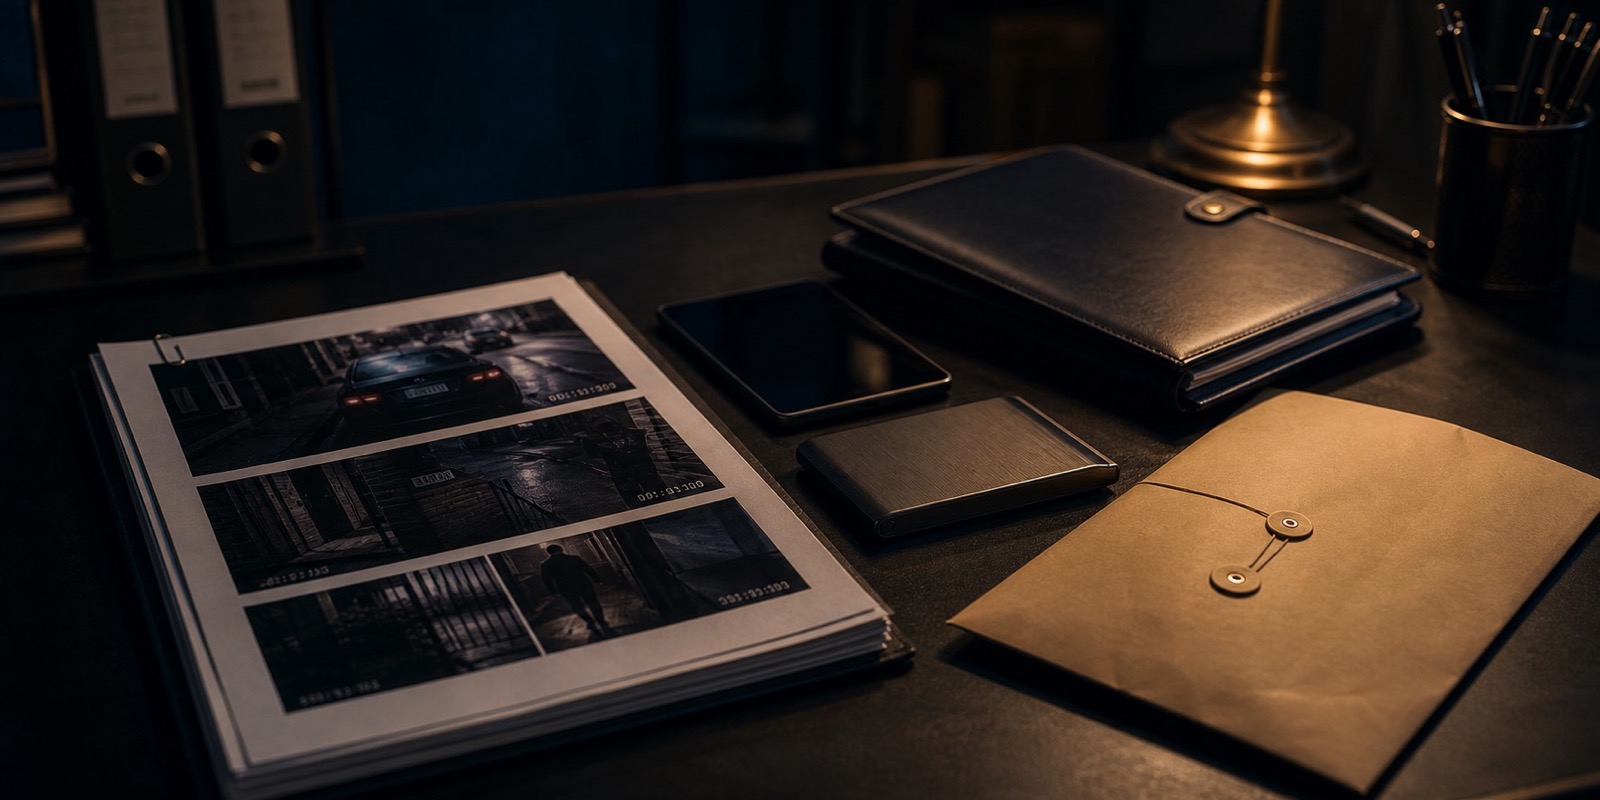
This guide turns messages, photos, videos, records, witness information, and notes into a file another person can verify without changing the originals or burying the important facts.
Working Files

Do This First
- Stop editing, cropping, renaming, forwarding, or repeatedly opening the only copy of a file.
- If evidence is still on a device, camera, platform, or account that may overwrite or delete it, export it now and record where it came from.
- If police, an attorney, a court, or an insurer is already involved, ask whether they have a required submission format before building the final packet.

What You Need
- One storage location you control, plus a separate backup location
- A spreadsheet program for the evidence index and timeline
- A PDF reader and a plain-text editor
- Enough storage for native video, audio, message exports, and records
- Optional: a SHA-256 hashing tool when the file may be disputed or professionally examined
1. Freeze The Evidence Before You Organize It
Preserve what exists now before ordinary cleanup or app use changes it.
Create a case folder named with a neutral case label and the date you started it. Inside it, create 01_ORIGINALS, 02_WORKING_COPIES, 03_TIMELINE_AND_INDEX, 04_WITNESSES, and 05_HANDOFF. Originals are read-only source material. Everything you annotate, shorten, convert, print, or share belongs somewhere else.
Export from the original source whenever the source offers an export or download function. A native camera export is better than a phone recording of a playback screen. A full message export is better than a cropped screenshot. When only screenshots are possible, include the account name or number, date, time, URL when applicable, and enough surrounding context to understand the exchange.
Do This In Order
- Copy the original file into 01_ORIGINALS without changing its contents.
- Record the source device, account, camera, person, or website in the evidence index.
- Record the date and time of collection, who collected it, and how it was transferred.
- Back up the originals folder to a second location before continuing.
- If you calculate a SHA-256 hash, record it beside the file and do not replace the original later.
Use These Resources
- NIST Digital Evidence PreservationExplains why digital files require preservation controls beyond ordinary documents.
- SWGDE Best Practices For Digital Evidence CollectionProvides professional collection, hashing, inventory, and documentation practices.
2. Build One Master Incident Timeline
Make the sequence understandable without forcing someone to open every file first.
Use one row per event, not one row per file. An event may have several evidence files, multiple witnesses, and more than one action taken. Keep facts and interpretation in separate columns so an assumption never looks like an observation.
Use exact dates and times when known. If a time is estimated, mark it as estimated and explain the source, such as a receipt, call log, or camera alert. Include the time zone for online activity or events involving different locations.
Do This In Order
- Enter the event date, time, time zone, and location or platform.
- Describe what happened in two to five factual sentences.
- Link the evidence IDs and witness IDs that support the row.
- Record the immediate action taken, including report numbers or platform ticket numbers.
- Add a separate notes column for unresolved questions rather than filling gaps with guesses.
Use These Resources
- NIST Evidence ManagementCovers integrity, contamination, degradation, and chain-of-custody tracking.
3. Create An Evidence Index That Can Stand On Its Own
Give every item a stable identity and a plain explanation of what it shows.
Assign a simple ID such as E-001, E-002, and E-003. Keep the ID stable even if you later make a shorter clip or a redacted copy. Derivatives should point back to the original, such as E-014-W1 for the first working copy of E-014.
Do not label an item as proof of a legal conclusion. Describe visible content: "Blue sedan enters east driveway at 11:42 PM" is stronger than "Burglar casing property."
Do This In Order
- Record the evidence ID and exact filename.
- Describe the item type, source, collector, collection date, and original storage location.
- Write one sentence explaining what the item visibly or audibly contains.
- Record any conversion, crop, annotation, redaction, or clip made from it.
- Record every transfer to police, an attorney, insurer, investigator, court, or another custodian.
Use These Resources
- NIST Evidence ManagementCovers integrity, contamination, degradation, and chain-of-custody tracking.
- SWGDE Best Practices For Digital Evidence CollectionProvides professional collection, hashing, inventory, and documentation practices.

4. Preserve Messages, Social Posts, Calls, And Email Correctly
Capture identity, context, and timestamps instead of saving isolated words.
For messages, include the sender identifier, recipient, visible date and time, and enough messages before and after the key statement to show context. For social content, record the direct URL, account handle, display name, date observed, and the date shown on the post. For email, preserve the original message and full headers when available.
Do not forward the only copy to yourself and then treat the forwarded copy as the original. Do not delete a conversation after screenshotting it. Carrier logs, platform records, or a forensic extraction may later be needed to authenticate the communication.
Do This In Order
- Use the platform export function when available.
- Capture both the full conversation view and close views of the important statements.
- Save voicemails as audio files when the provider permits it and retain the call log entry.
- Save disappearing posts before reporting them to the platform.
- Record any username, number, or display-name changes as separate timeline events.
Use These Resources
- Safety Net Project Documentation TipsAddresses technology abuse, stalking evidence, and survivor safety.
- NIST Digital Evidence PreservationExplains why digital files require preservation controls beyond ordinary documents.

5. Handle Photos, Video, Audio, And Physical Items Without Creating Doubt
Keep the original quality, metadata, location, and handling history intact.
Save native media before making a highlight clip, screenshot, transcript, or annotated copy. If a camera clock is wrong, do not fix the original file. Document the clock difference and how you measured it. Keep several minutes before and after the main event when storage allows because context may show direction of travel, another person, or a triggering event.
For physical evidence, photograph it in place when safe, avoid unnecessary handling, and do not package wet, biological, chemical, firearm, explosive, or suspected drug evidence yourself. Ask law enforcement how they want it handled.
Do This In Order
- Record camera name, camera location, displayed time, actual time, and time zone.
- Keep native exports and any vendor player needed to open proprietary video.
- Create clips and annotated images only from working copies.
- Photograph physical items with an overview, mid-range view, and close detail when safe.
- Record who touched, moved, packaged, or received a physical item.
Use These Resources
- NIST Digital Video Exchange StandardsExplains native video export, metadata, timestamps, and quality loss from conversion.
- NIST Evidence ManagementCovers integrity, contamination, degradation, and chain-of-custody tracking.
6. Separate Witness Information From Your Narrative
Preserve independent recollections and make witnesses easy to contact.
Keep a witness list with the person's name, safe contact information, what they may know, and how you learned they were a witness. Do not send witnesses your timeline, tell them what another witness said, or ask them to agree with your theory.
If a witness sends a statement, save it exactly as received. If you interview the witness yourself, use the separate witness-interview guide and check recording law before using audio or video.
Do This In Order
- Assign each witness an ID such as W-001.
- Record what event they may have personally seen, heard, received, or documented.
- Record whether they possess relevant photos, messages, video, records, or objects.
- Keep their personal contact information out of copies that will be shared publicly.
- Record every attempted and completed contact without pressuring the witness.
Use These Resources
- NIJ Eyewitness Evidence Trainer ManualExplains open-ended interviewing, uninterrupted narration, and accurate witness documentation.
- Reporter's Recording Guide By StateSummarizes state rules for recording calls and in-person conversations.
7. Build The Handoff Packet For The Person Receiving It
Deliver the minimum clear packet first while preserving the complete archive.
Start with a one-page summary: who is involved, what occurred, the date range, the immediate concern, what has already been reported, and what you are asking the recipient to do. Follow it with the timeline, evidence index, and the most important evidence. State that the complete archive is available.
Police, attorneys, insurers, courts, and investigators may need different formats. Do not assume the same packet should be sent everywhere, and do not send private medical, financial, child, or protected information to people who do not need it.
Do This In Order
- Write a neutral one-page summary without argument or exaggeration.
- Place the timeline and evidence index immediately after the summary.
- Include a short priority set of evidence while keeping the full archive available.
- Record exactly what you delivered, to whom, when, and by what method.
- Keep a frozen copy of the submitted packet so future changes do not alter what was actually received.
Use These Resources
- NIST Evidence ManagementCovers integrity, contamination, degradation, and chain-of-custody tracking.
8. Update The File Without Rewriting History
Add new information while preserving the record of what was known at each point.
Add new rows and files rather than silently changing old descriptions. If you discover an error, correct it in a dated correction note that explains what changed and why. This protects credibility and keeps earlier submissions understandable.
Use versions for handoff packets, not for originals. A file named POLICE_PACKET_2026-07-09 can be followed by POLICE_PACKET_2026-07-16, while E-001 remains E-001.
Do This In Order
- Add new evidence IDs in sequence.
- Add a dated correction note for factual errors.
- Preserve prior submitted packets unchanged.
- Record supplemental report numbers and follow-up contacts.
- Review backups after every major update.
Use These Resources
- SWGDE Best Practices For Digital Evidence CollectionProvides professional collection, hashing, inventory, and documentation practices.
Check Your Work
- Original files remain untouched and backed up separately.
- Every evidence item has an ID, source, collector, date, description, and storage location.
- The timeline distinguishes observations from assumptions.
- Working copies identify the original they came from.
- Witnesses remain separate and have not been coached.
- The handoff packet states what you want the recipient to review or do.
- Every transfer or submission is recorded.
When To Stop Doing This Yourself
- Stop and call 911 when violence, forced entry, a weapon, fire, medical danger, kidnapping, or another immediate emergency is occurring.
- Stop handling a scene or physical item when police may need to collect it, especially biological material, suspected drugs, firearms, explosives, or fire debris.
- Stop DIY collection before hacking, impersonating, trespassing, accessing another person's account or device, violating a court order, or secretly recording without confirming the law.
- Use a forensic professional when deleted, damaged, encrypted, disputed, or technically complex evidence must be recovered or authenticated.
Questions People Ask
Screenshots can document what was visible, but they may not preserve all metadata or prove who controlled an account. Keep the original device, conversation, export, URL, and surrounding context whenever possible.
Keep the original filename in the originals folder. If a working copy needs a readable name, record both names and the link between them in the evidence index.
No. Hashing is most useful when integrity may be disputed, a large dataset is transferred, or a forensic workflow is involved. Good source, collection, storage, and transfer records still matter even when no hash is created.
Lead with the summary, timeline, index, and priority evidence. Tell the officer that the complete archive is available and follow the agency's submission instructions.
Related Resources
Source Library
- NIST Digital Evidence Preservation
Explains why digital files require preservation controls beyond ordinary documents.
- SWGDE Best Practices For Digital Evidence Collection
Provides professional collection, hashing, inventory, and documentation practices.
- NIST Evidence Management
Covers integrity, contamination, degradation, and chain-of-custody tracking.
- Safety Net Project Documentation Tips
Addresses technology abuse, stalking evidence, and survivor safety.
- NIST Digital Video Exchange Standards
Explains native video export, metadata, timestamps, and quality loss from conversion.
- NIJ Eyewitness Evidence Trainer Manual
Explains open-ended interviewing, uninterrupted narration, and accurate witness documentation.
- Reporter's Recording Guide By State
Summarizes state rules for recording calls and in-person conversations.